Picture the perfect cozy afternoon at home: what does it look like? If you’re envisioning a cozy reading nook, a warm blanket and a good book, then you’re in luck – from comfy bedroom reading nooks to elegant reading rooms to multi-functional spaces ideal for daily reading retreats, we’ve rounded up 10 reading nook ideas to inspire you.
Storytime Style
Want to spark creativity and foster a love of reading with kids? Create a special storytime space a la the sweet corner nook in this dreamy Montreal bungalow. The set-up is simple – a few shelves to keep must-read books close, a flowy pink canopy and plenty of pillows – yet oh so cozy.
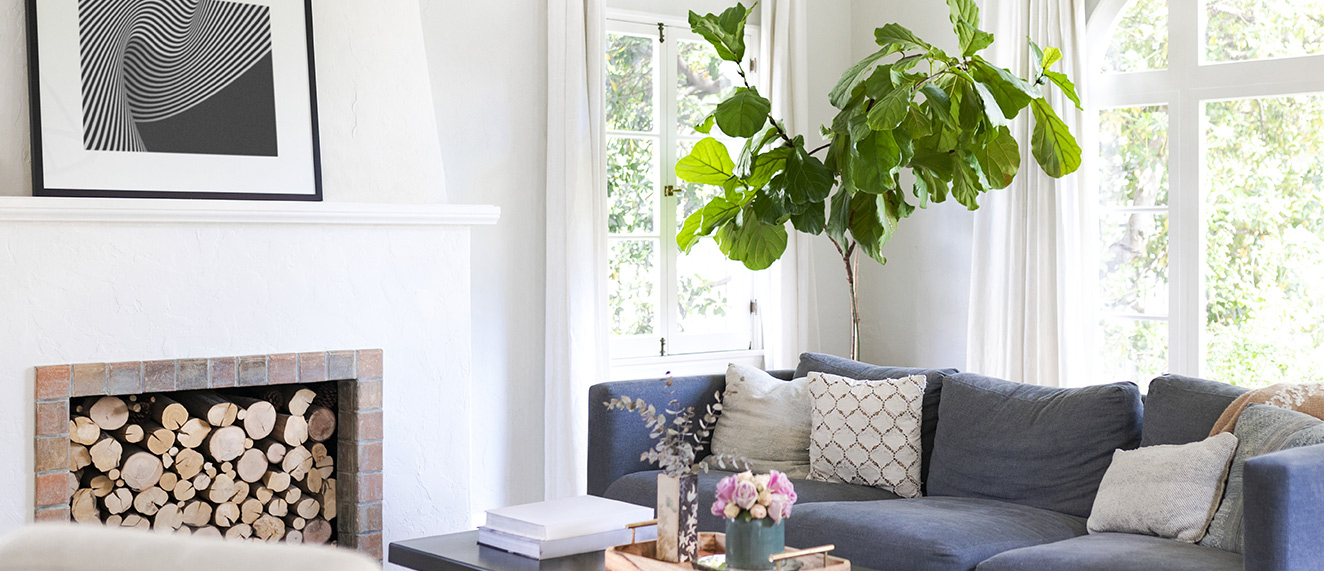
Plant Life
If you’re looking for the perfect place to curl up and read, think about factors like natural light. Setting up a comfy chair in a room with a lot of sunshine is a great way to make a weekday reading session feel vacation-worthy. Bonus points if you can surround your reading spot with plenty of green plants, as demonstrated by this gorgeous Toronto-area sunroom.
A Bright Spot
Speaking of natural light, does your bedroom have a big window? Whether you place a plush chair in front of the window or customize a window seat, create a bedroom reading nook for a little hideaway at home. In this bright Toronto home, we love the mix of a custom patterned bench pillow and beautiful overhead lighting to create a chic reading spot.
Hang Time
When you’re creating a cozy reading nook, your choice of seat is important. For a super relaxing feel, consider an indoor hammock or hanging chair – just be sure to opt for a model that doesn’t rock too much (since you’ll be reading).
Textile Touches
Whether you opt for a hanging chair, a comfy couch or (as seen here) both, the easiest way to make any seating area apropos for reading is to layer on some ultra-comfy textiles for a cozy feel. Soft blankets, pillows and faux-fur throws should do the trick.
Sitting Space
Does your home have a formal living room or sitting room? Outfit the space with comfy furniture (like the beautiful and on-trend curved sofa in this Rock Solid Builds sitting room) to create a space that doubles as your own personal reading nook when you’re not relaxing with family or guests.
Floor Space
Of course, reading nooks don’t have to be fancy – or take up too much space. As shown here, a collection of floor pillows and rugs can easily come together to create a comfy reading nook for an afternoon – and then stored away when not in use.
Hidden Gems
Whether you’re creating a hideaway for your little ones or a DIY reading nook for adults, don’t overlook any nooks and crannies in your home. With some customization, these underused spaces can become a functional nook for reading and relaxing (as the Property Brothers showed here).
Window Seat
Not all reading nooks need to be built-in. Investing in easy-to-move (yet ultra comfy) living room furniture is a good way to create a window seat reading nook when you need it – but to also have functional seating you can move where you want it when guests come over. Here, we love the versatility of this sophisticated setup of a moveable leather ottoman (ideal for a reading nook when placed in front of a window) featured on Property Brothers: Buying & Selling.
Double Up
In a more compact living space, it can take a bit of creativity to customize the perfect reading nook. The key – as the Save My Reno team showed here – is to think multi-functionally. In this space, a padded bench is perfect for reading and relaxing, and it also doubles and additional seating at the breakfast nook. An artful array of pillows amps up the comfort while adding a pop of chic style.
Source: https://www.hgtv.ca/cozy-reading-nook-ideas-every-bookworm-will-love/
Photo: pexels.com